Azure Local - Homelab - Part 8 - Connect Windows Admin Center without Active Directory
- Intro
- Security considerations
- Prerequisites
- Step 1 — Configure WinRM TrustedHosts on the WAC server
- Step 2 — Enable CredSSP
- Step 3 — Add the cluster connection in WAC
- Step 4 — Configure credentials on the cluster connection
- Step 5 — Verify the connection
- Final remark
Intro
This article is part of a series: Navigate to series page
Windows Admin Center (WAC) is a browser-based management tool that many administrators rely on for managing Windows Server and Azure Local clusters. Microsoft offers a preview version of WAC that can be deployed directly from the Azure Portal as an Arc extension — but at the time of writing, that preview has known issues that impact installation and connectivity on Azure Local (WAC versions 0.49.0.0 and above). I have written about these issues in a previous article.
For environments where the preview is not an option — or where you simply prefer the generally available version of WAC installed on a management server — this article walks through how to connect that on-premises WAC instance to an Azure Local cluster that is running without Active Directory (ADLess, using local identities and KeyVault mode).
The challenge is that WAC normally relies on Kerberos authentication through Active Directory. Without a domain, we need to configure WinRM trusted hosts, use local credentials explicitly, and enable CredSSP delegation so that WAC features requiring double-hop authentication work correctly.
Security considerations
Before proceeding it is important to understand the security implications of the TrustedHosts approach.
When you add a machine to the WinRM TrustedHosts list, you are telling Windows to allow authentication to that machine without verifying its identity through Kerberos or certificates. Combined with the fact that WAC communicates with the managed nodes over plain HTTP (WinRM on port 5985), this means:
- Traffic is unencrypted. Management traffic between the WAC server and the Azure Local nodes travels in clear text over the network. I have tested using WinRM HTTPS certificates with WAC but was not able to get that to work.
- No mutual authentication. Without Kerberos there is no guarantee that the machine responding is actually the intended cluster node. In a compromised network, traffic could potentially be redirected.
- CredSSP delegation risk. Enabling CredSSP means the WAC server forwards your full credentials to the cluster nodes. If a node is compromised, those credentials can be reused for lateral movement.
This configuration should only be used in a tightly controlled and isolated management network — for example a dedicated management VLAN where you fully trust the network path between the WAC server and the Azure Local nodes, and where access to this network is restricted. Do not use this approach over untrusted or shared networks.
Prerequisites
Before starting, make sure the following is in place:
- Windows Admin Center (GA version) is installed on a management server that is a member of your Active Directory domain. In my environment this server is called
wacand resolves towac.az.local. - The management server can reach the Azure Local nodes over the network (both by IP and by hostname).
- DNS resolution is configured so the management server can resolve the Azure Local node hostnames and the cluster name. In my environment these are
azhci01.az.local,azhci02.az.local, and the cluster nameazhcickj4.az.local. - You know the local administrator credentials on the Azure Local nodes (the account created during ADLess deployment, e.g.
local-admin).
Step 1 — Configure WinRM TrustedHosts on the WAC server
Because the Azure Local nodes are not domain-joined, the WAC server does not trust them by default. We need to explicitly add them to the WinRM TrustedHosts list.
First, check the current list:
Get-Item WSMan:\localhost\Client\TrustedHostsThen add all node IPs, hostnames, and the cluster FQDN:
Set-Item WSMan:\localhost\Client\TrustedHosts -Value "192.168.0.145,192.168.0.18,192.168.0.230,azhci01,azhci02,azhcickj4,azhcickj4.az.local,azhci01.az.local,azhci02.az.local" -ForceHINT Include both the short hostname and the FQDN for each node and the cluster name. WAC may try to connect using either form depending on how the connection was added. Also include the IP addresses of the nodes. If you want to update values, you need to run include all records you want to keep, otherwise you will overwrite with the update you are performing
Step 2 — Enable CredSSP
Several WAC tools (such as cluster-aware features, updates, and storage management) require CredSSP to delegate credentials from the WAC server to the cluster nodes. Without CredSSP, you will see errors or missing data in certain WAC tools.
On the WAC server — enable CredSSP as client
Run the following on the WAC server to allow it to delegate credentials to machines in your domain suffix:
Enable-WSManCredSSP -Role Client -DelegateComputer "*.az.local" -Force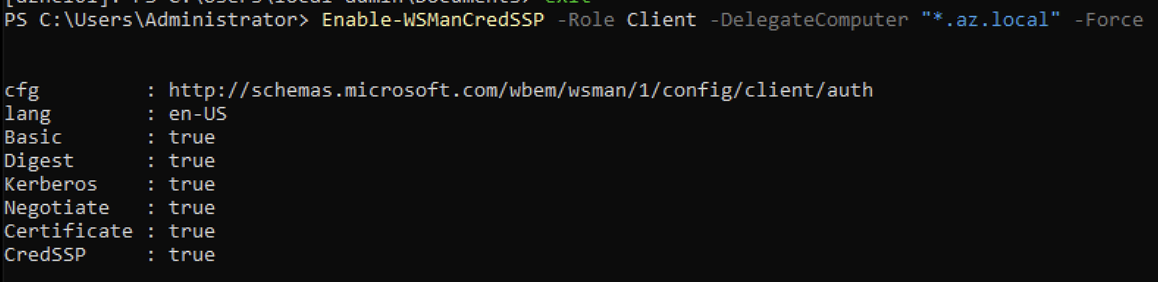
On each Azure Local node — enable CredSSP as server
Connect to each node (via Enter-PSSession or RDP) and run:
Enable-WSManCredSSP -Role Server -Force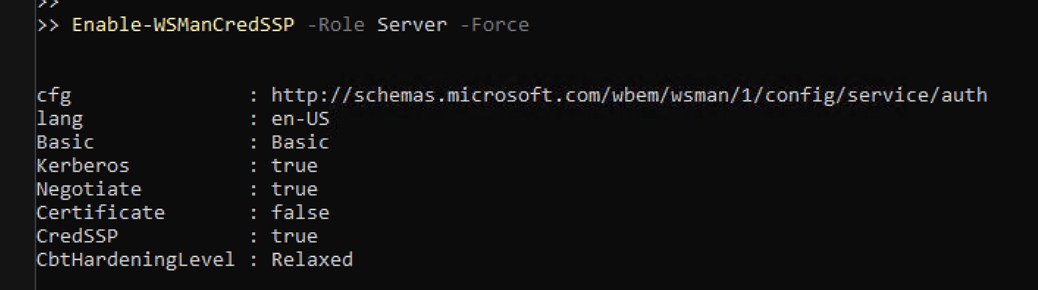
Repeat this on every node in the cluster.
Step 3 — Add the cluster connection in WAC
-
Open Windows Admin Center in your browser.
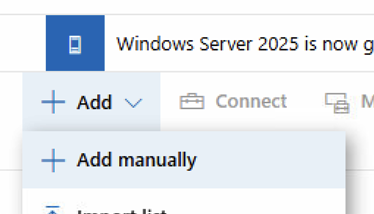
-
Click Add and select Add manually.
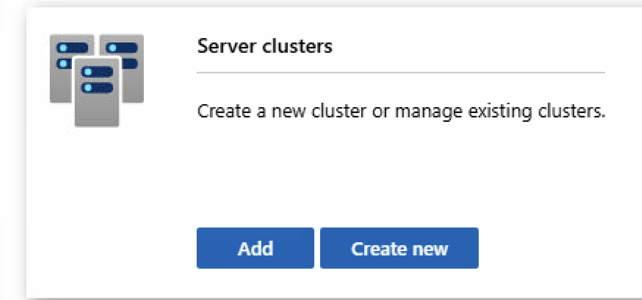
- Select Server clusters and click Add.
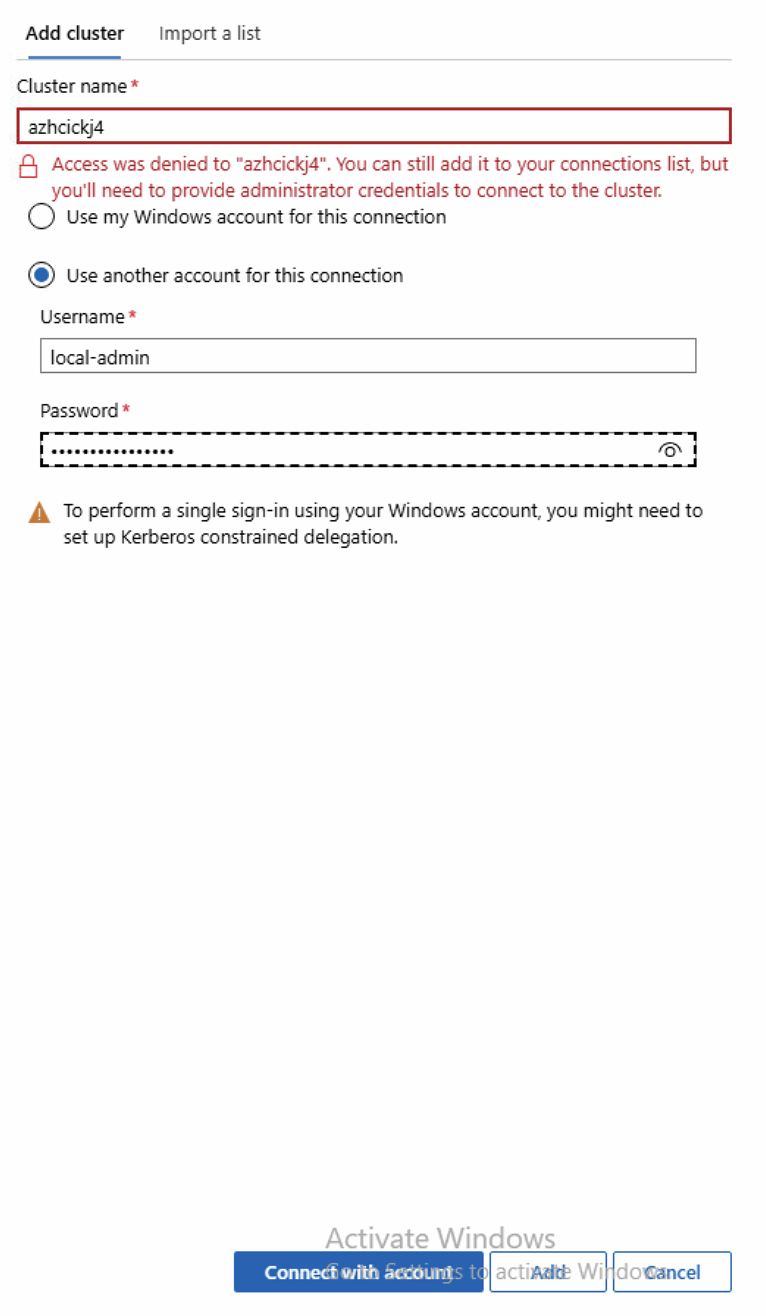
- Enter the cluster name (e.g.
azhcickj4). WAC will attempt to validate the name.
Because the cluster is not domain-joined you will see a warning that access was denied. This is expected. Select Use another account for this connection, enter the local administrator username (e.g. local-admin) and password, and click Connect with accounts.
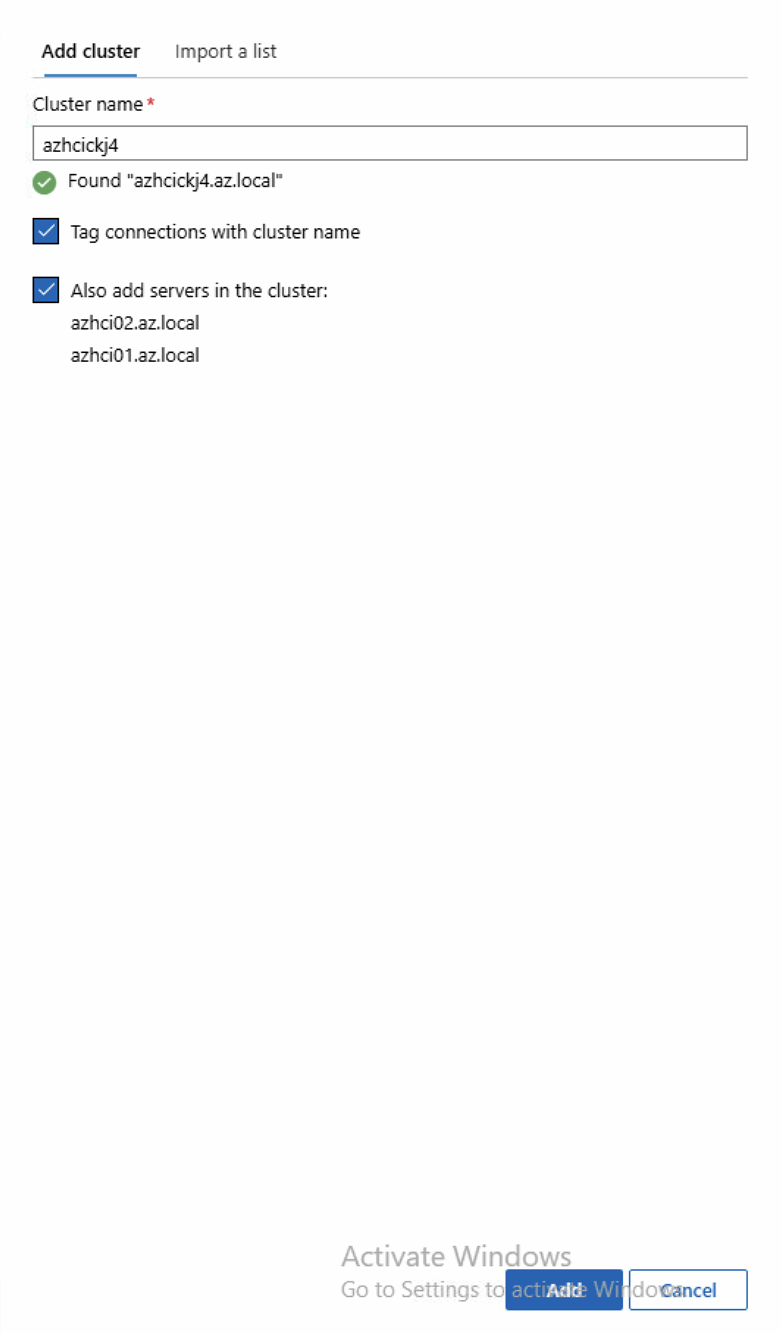
- Once validated, WAC should find the cluster (e.g.
azhcickj4.az.local) and list the individual nodes (azhci01.az.local,azhci02.az.local). Check the box Also add servers in the cluster and click Add.
Step 4 — Configure credentials on the cluster connection
After the cluster and nodes appear in the connection list, we need to set the right credentials for the cluster connection specifically.
-
In the WAC connection list, click on the cluster connection (e.g.
azhcickj4.az.local). -
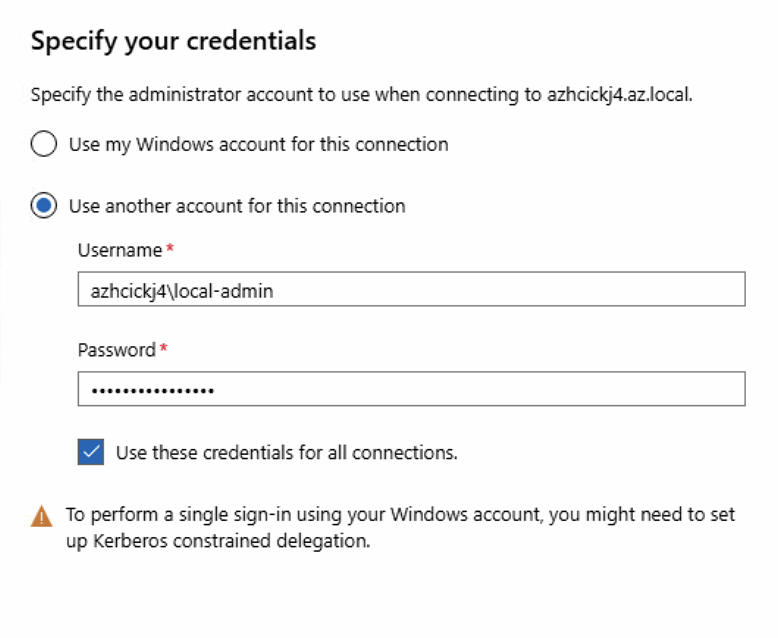
You will be prompted to Specify your credentials. Select Use another account for this connection and enter the credentials in the format
azhcickj4\local-admin(cluster name prefix). Check the box Use these credentials for all connections.
- WAC will begin connecting to the cluster.
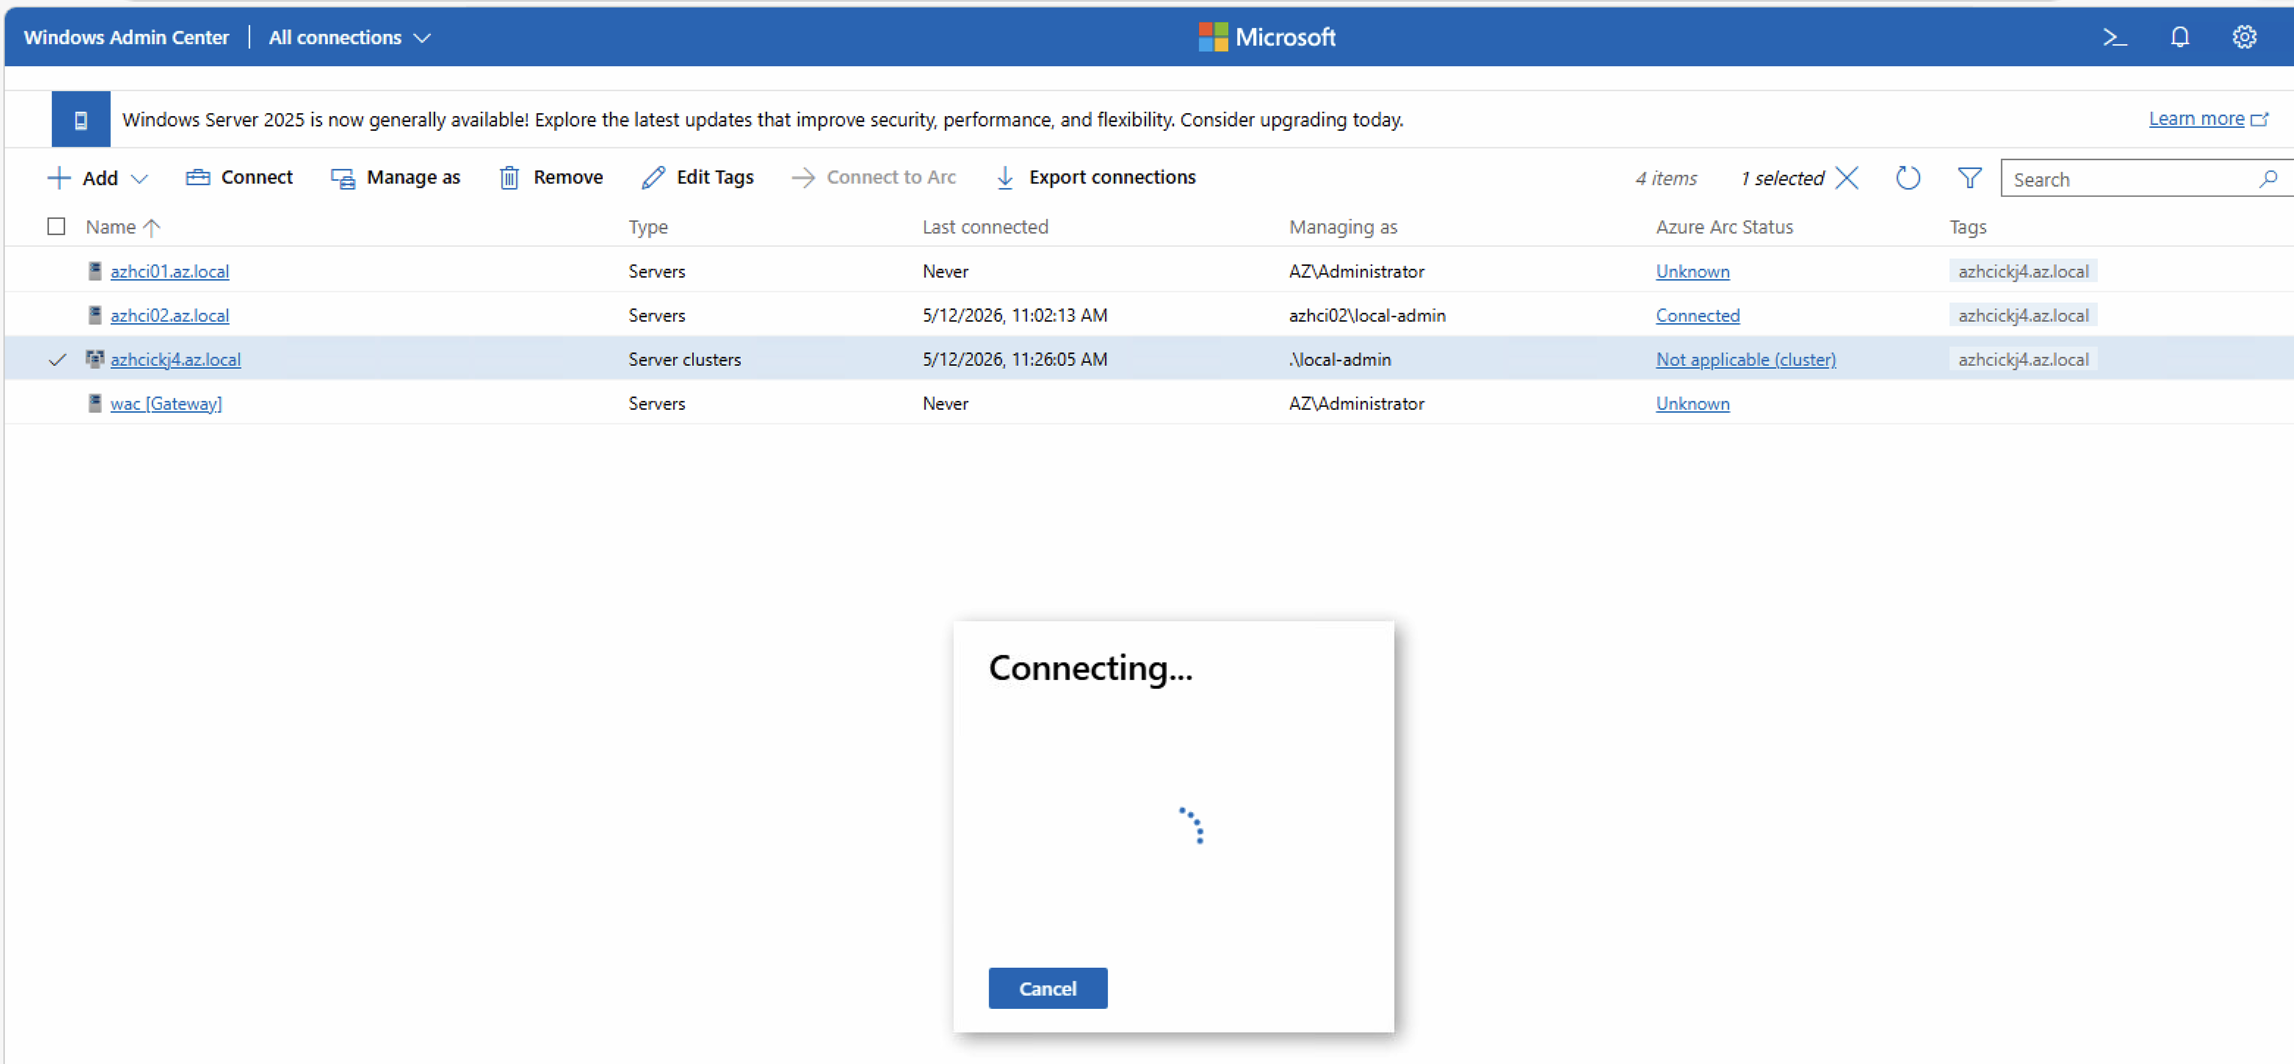
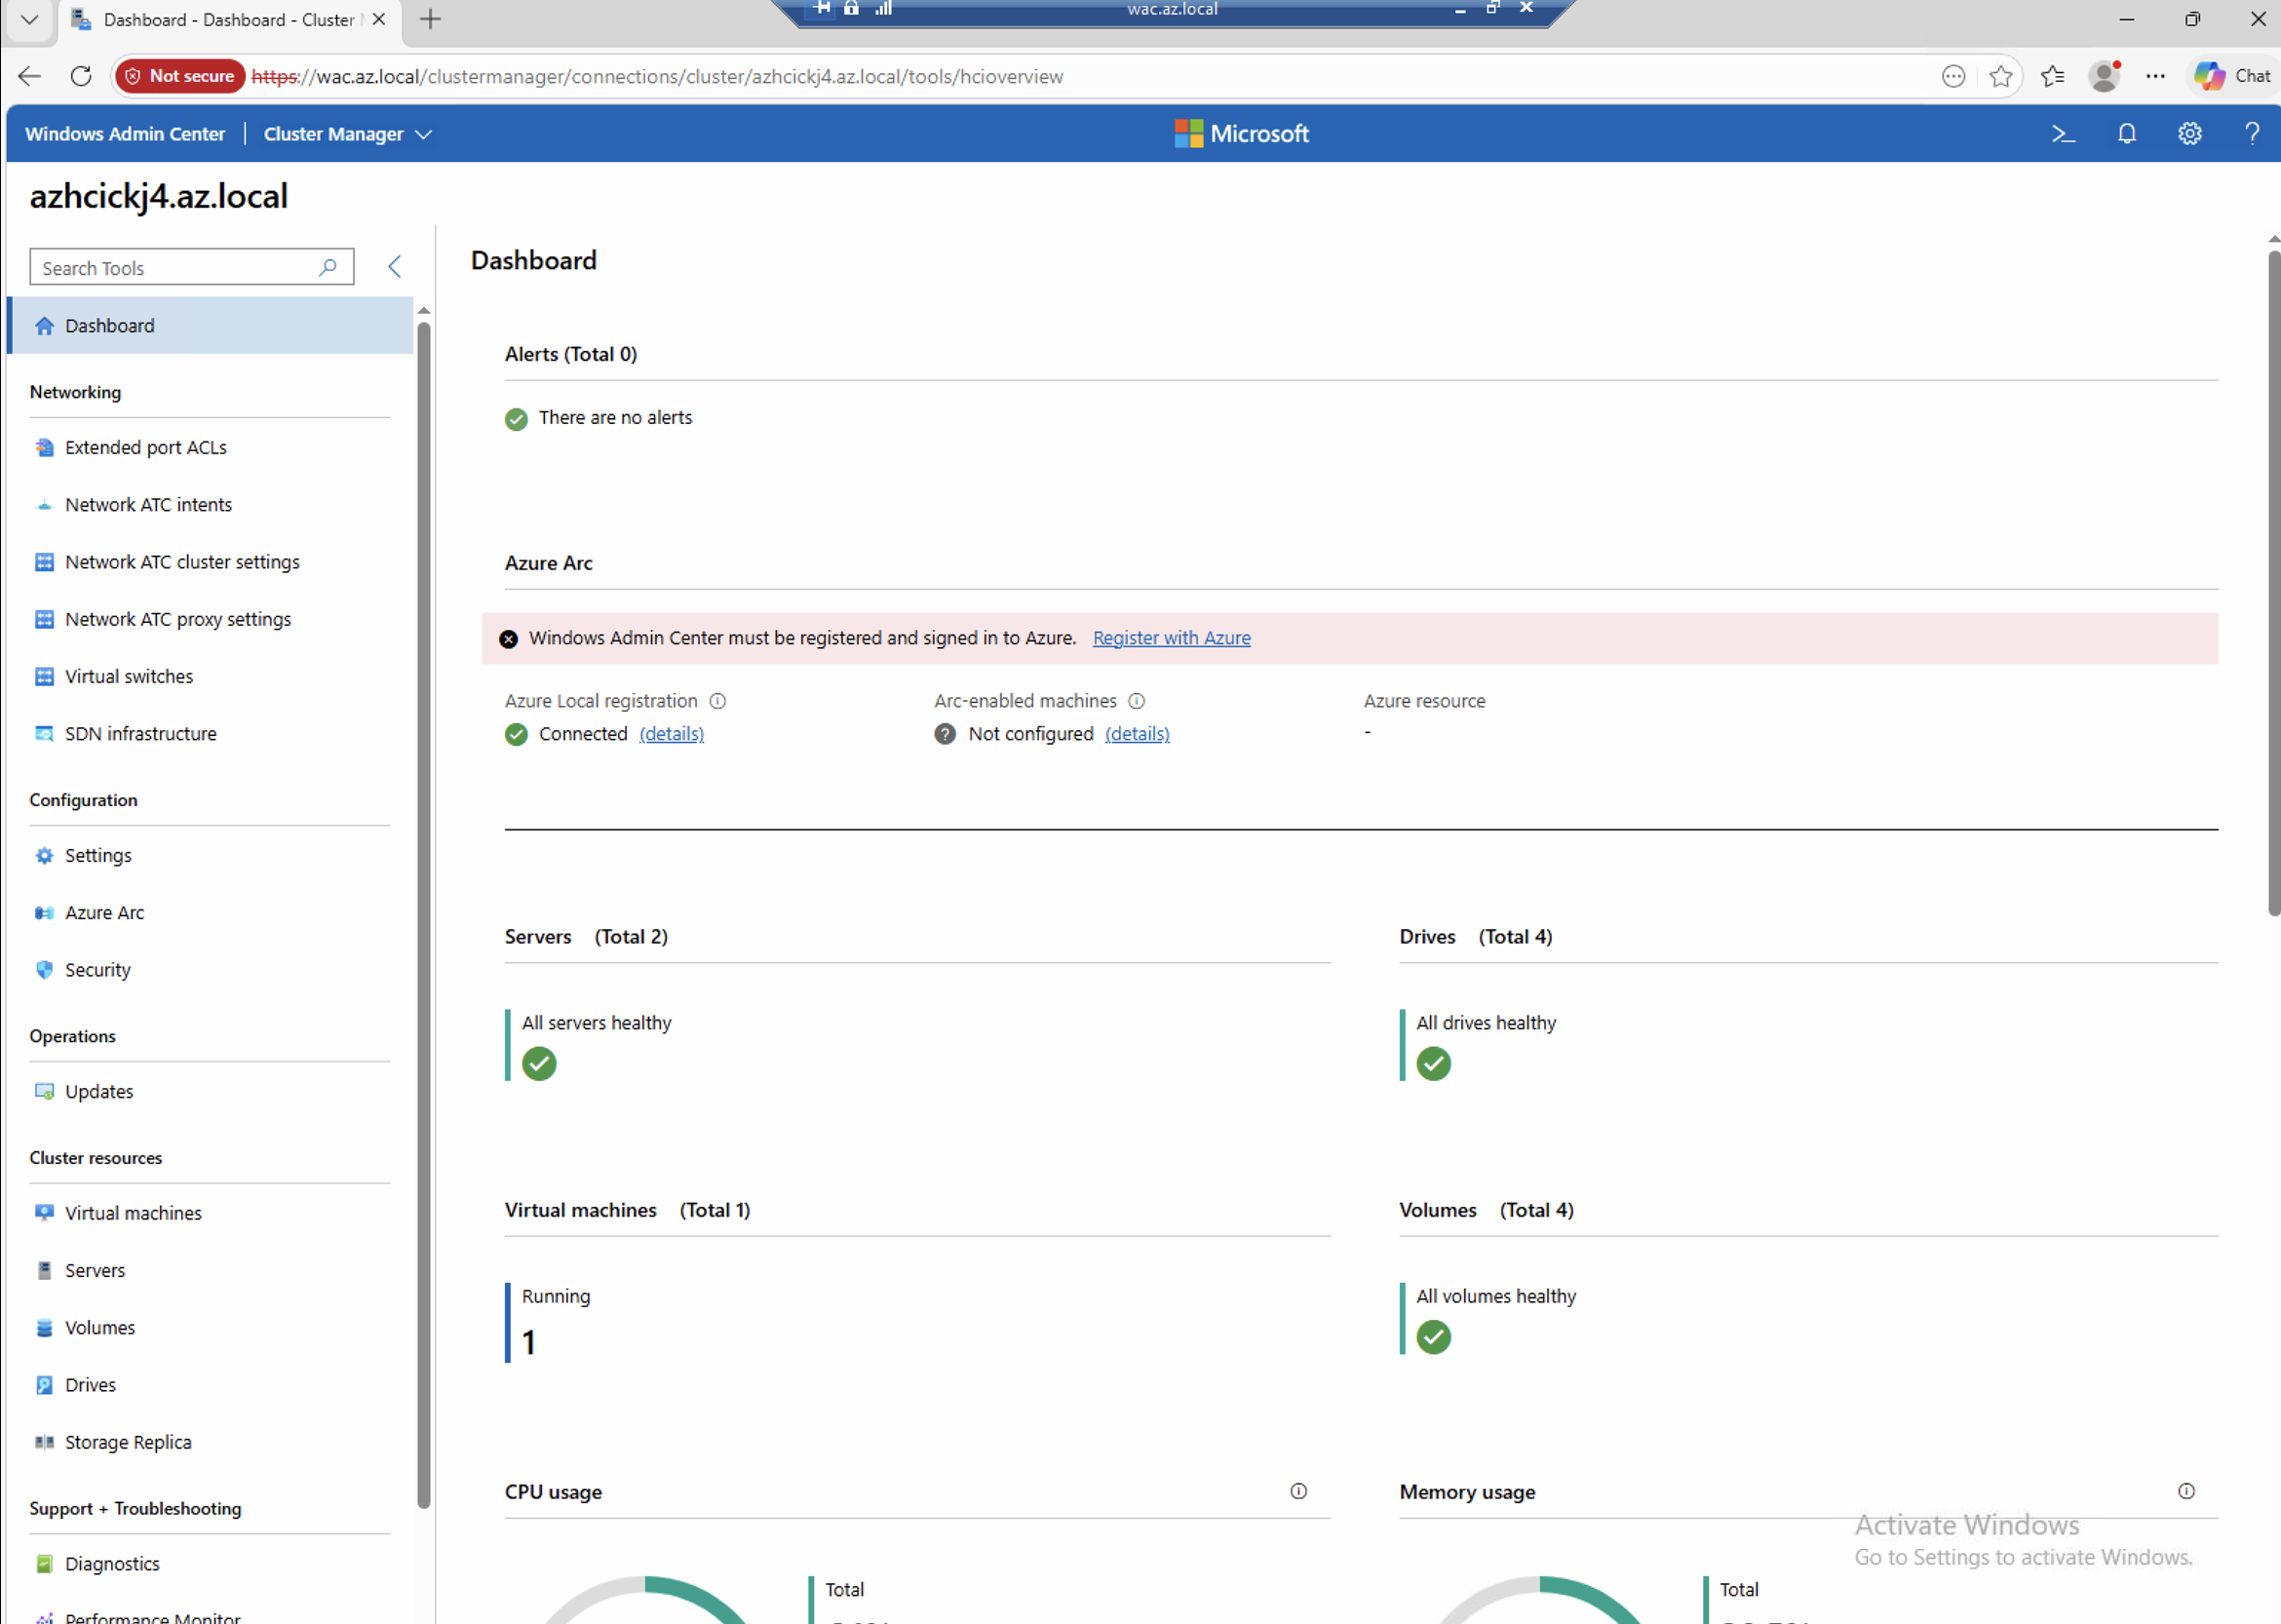
Step 5 — Verify the connection
Once connected, you should see the full cluster dashboard with all the familiar WAC tools — Dashboard, Networking, Storage, Virtual Machines, and more.
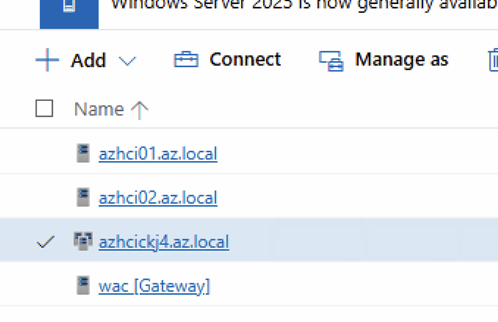
The connection list should now show the cluster and individual nodes with their respective credentials:
Final remark
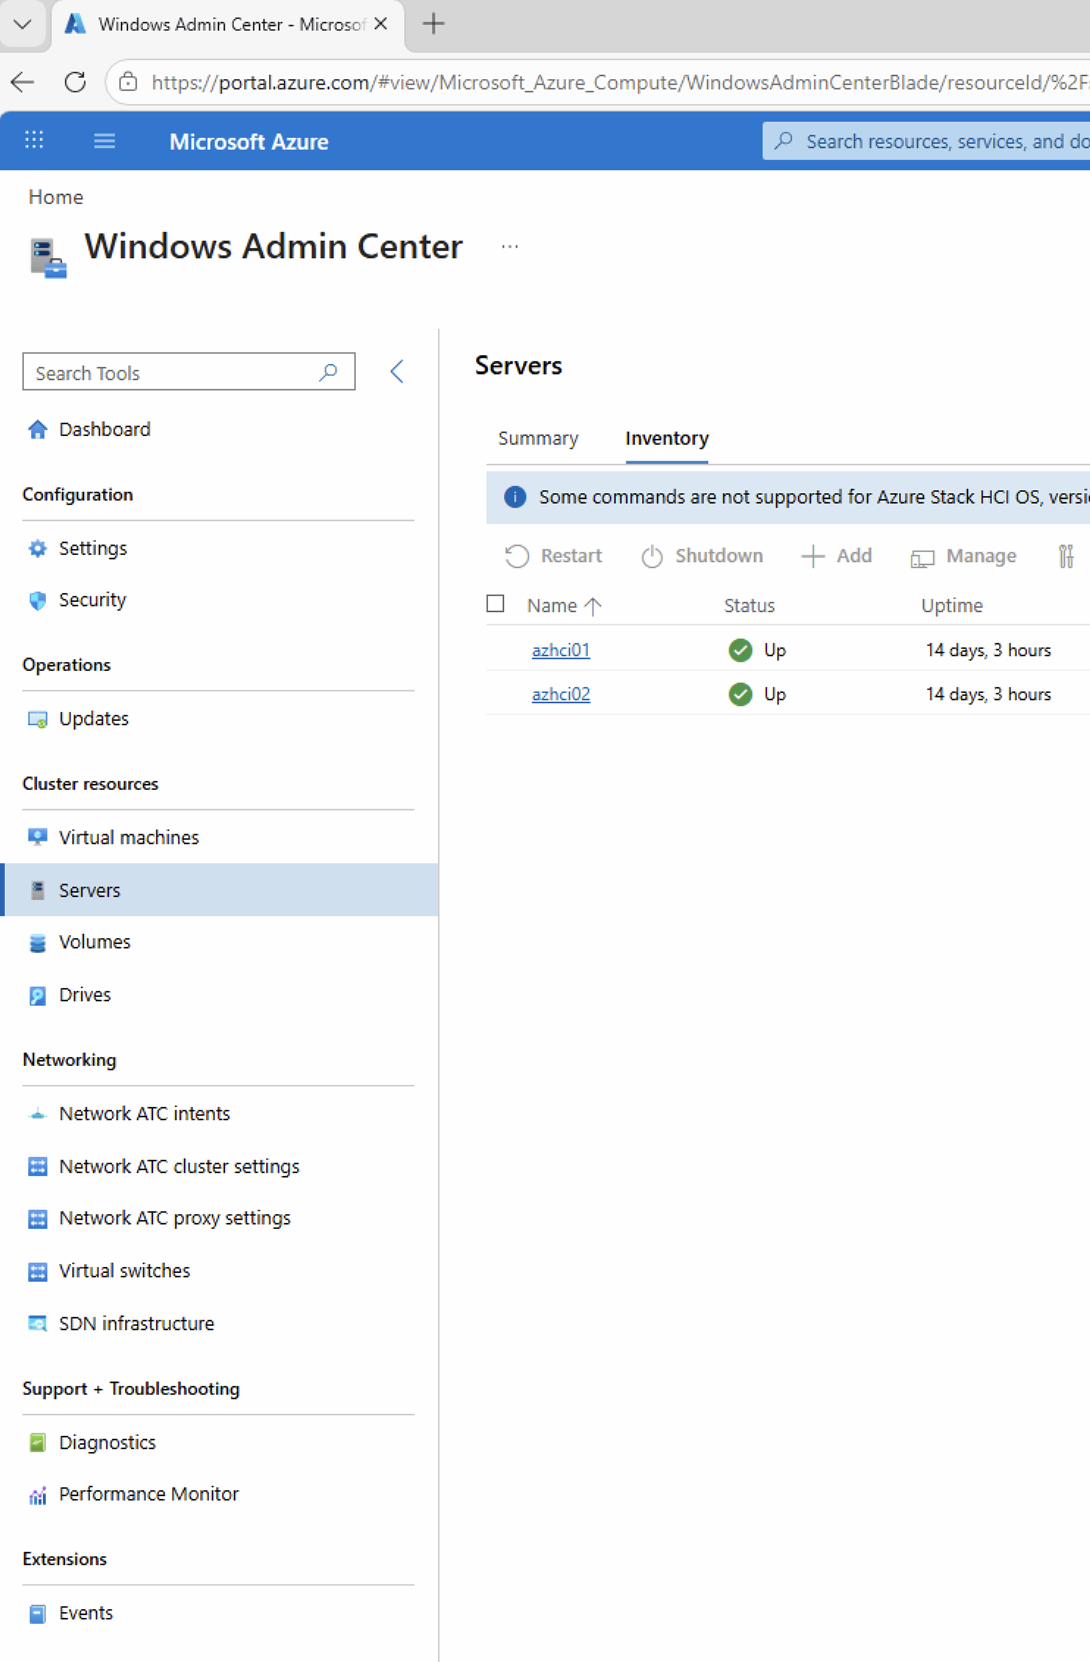
Despite the approach described in this article, I still recommend that every organisation uses the Windows Admin Center (Preview) from the Azure Portal whenever possible. The preview version installs a WAC gateway directly on the Azure Local nodes and connects securely through Azure Arc — no inbound ports are required from the Azure Local nodes to Azure, and all traffic is encrypted end-to-end. It is the more secure option.
The on-premises WAC approach described here is a fallback for situations where the preview has known issues or is not yet stable for your environment. Once Microsoft resolves the current issues with versions 0.49.0.0 and above, the Azure Portal version should be the primary choice.
The key steps for connecting on-premises WAC to an ADLess Azure Local cluster are: add the nodes to TrustedHosts, enable CredSSP on both sides, and use local credentials in the clustername\username format when connecting.
If you are following the homelab series, this article builds on the WinRM HTTPS configuration from Part 6 and the local user mirroring from Part 7. Together these three articles give you full remote management of your ADLess Azure Local cluster using Failover Cluster Manager, PowerShell, and Windows Admin Center.
Have feedback on this post?
Send me a message and I'll get back to you.