Azure Local - Kubernetes - Part 6 - Deploy Azure SQL Managed Instance on Azure Local
- Intro
- Sources
- Prerequisites
- Step 1 - Start SQL Managed Instance deployment
- Step 2 - Configure the SQL MI resource
- Step 3 - Review, create, and monitor
- Step 4 - Connect and validate
- Optional - Enable Active Directory authentication
- Final remark
Intro
This article is part of a series: Navigate to series page
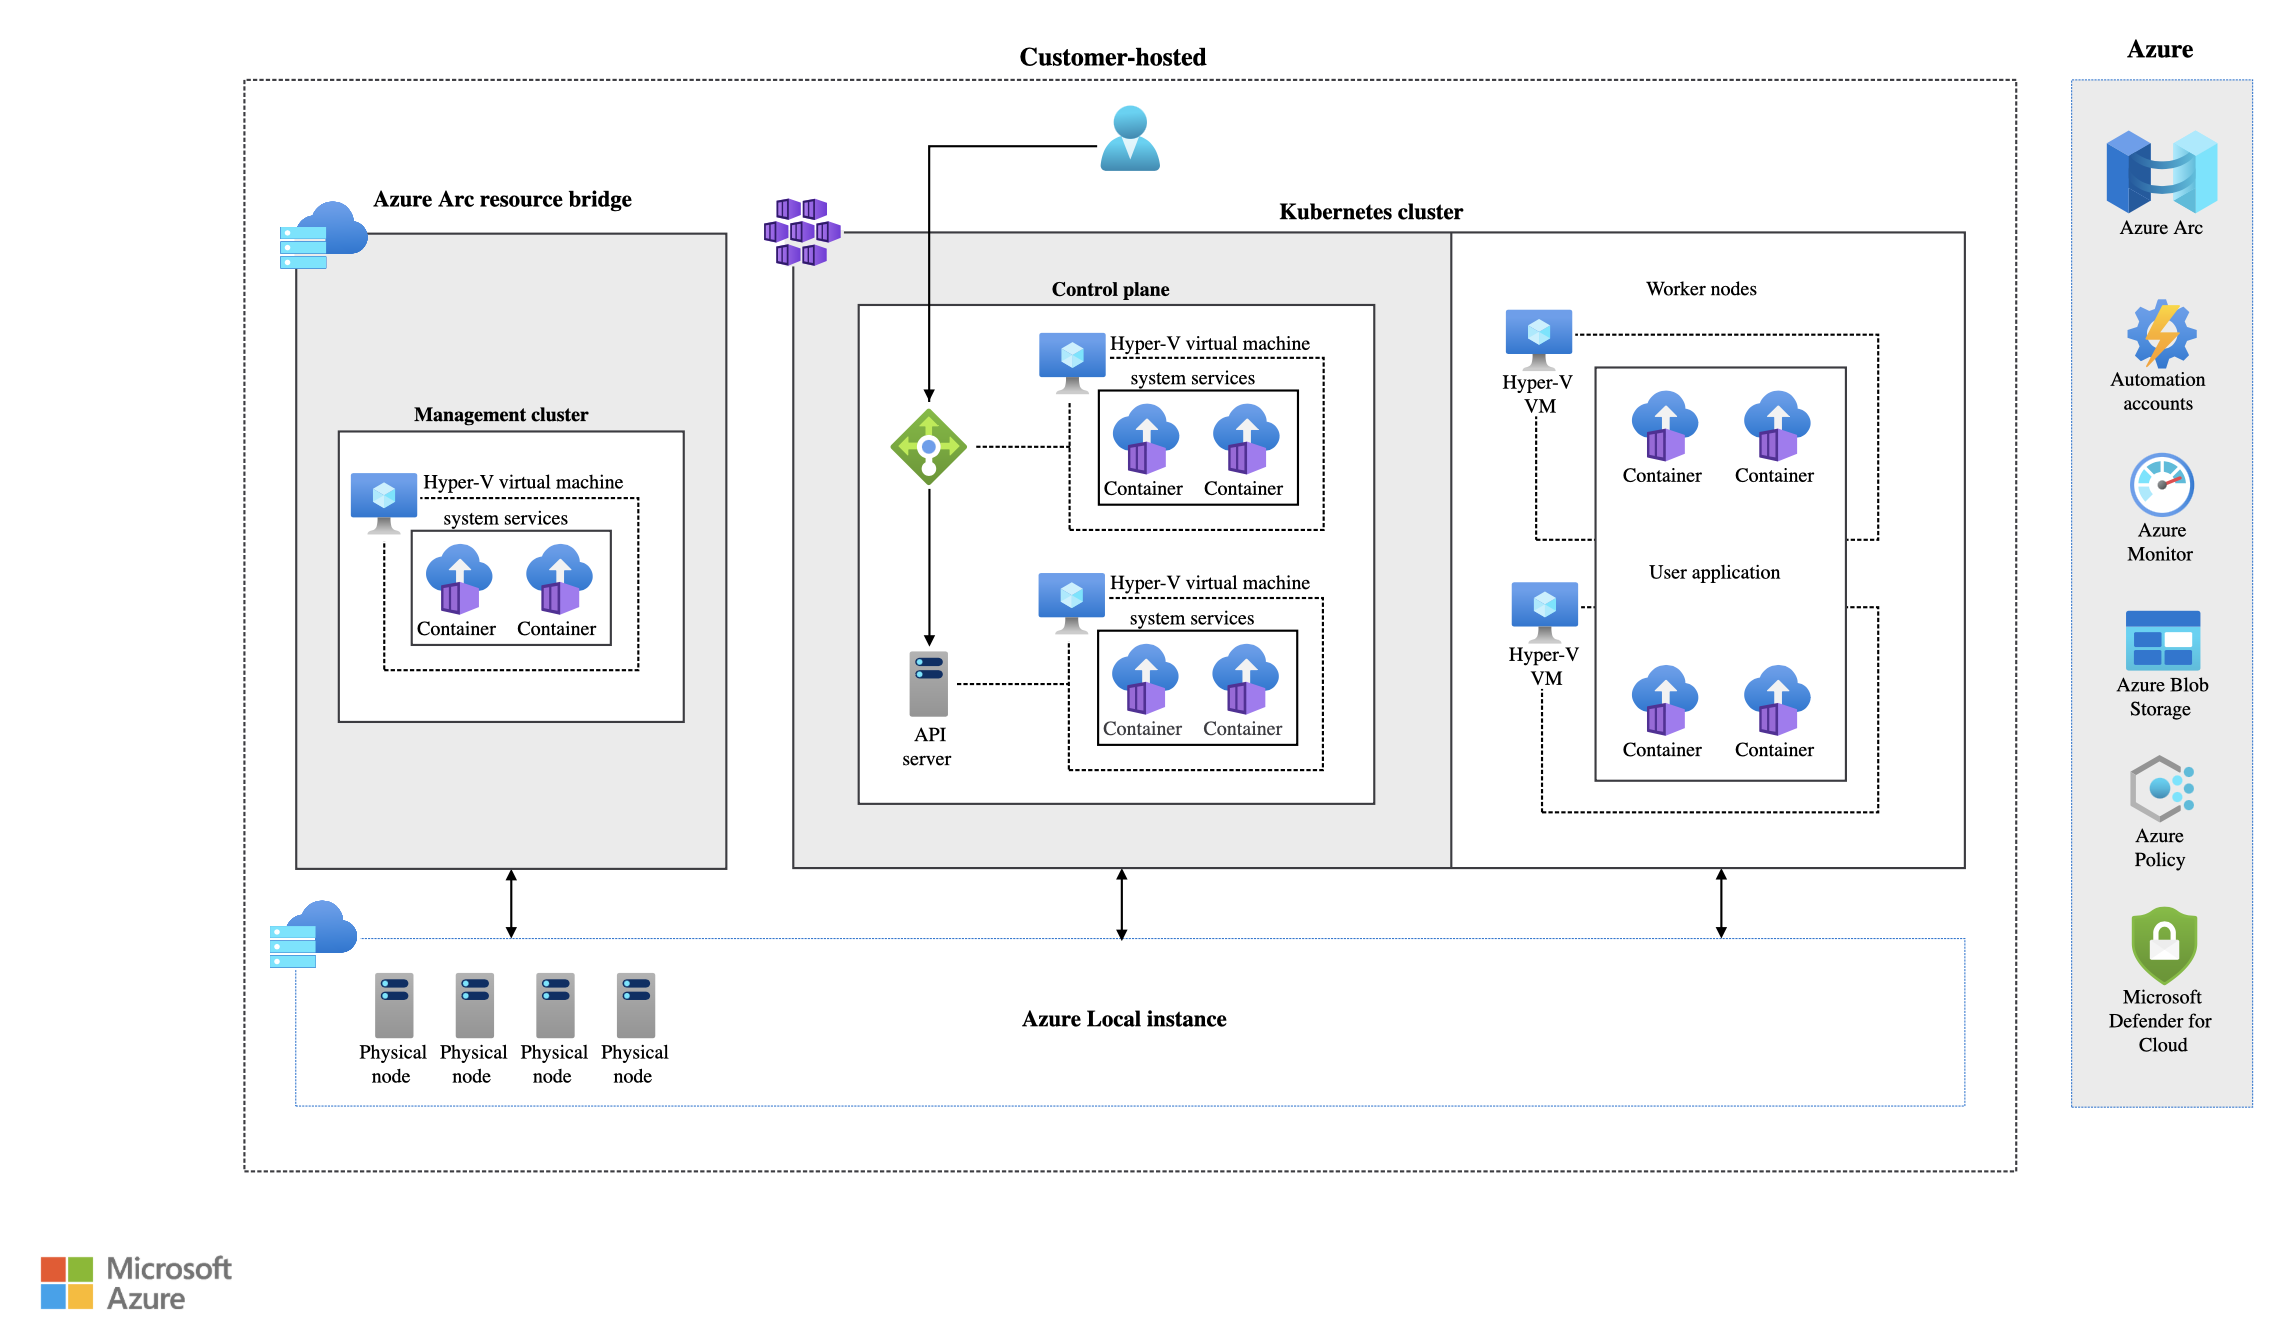
I wanted to try deploying Azure SQL Managed Instance on Azure Local for the first time on my own AKS Arc lab. There are good community posts out there, but some of the guidance has moved since 2024/2025, so in this guide I combine practical field notes with the current Microsoft Learn flow.
If you already followed Part 4 - Deploy Azure Arc Data Controller and Part 5 - Fix: Arc Data Controller stuck deploying due to insufficient memory, you are very close. Now we deploy SQL MI on top of that platform.
Sources
The two external guides I reviewed, written by two great authors are still useful, especially around design considerations and AD integration:
- https://www.hciharrison.com/azure-stack-hci/azure-arc-enabled-data-services-sql-managed-instances-on-azure-stack-hci/
- https://schmitt-nieto.com/blog/azure-local-aks/
I also recommend following Microsoft Learn documentation:
- Quickstart: Deploy Arc-enabled data services (directly connected)
- Create SQL Managed Instance enabled by Azure Arc
- Sizing guidance
- Connect to SQL Managed Instance enabled by Azure Arc
- Limitations of SQL Managed Instance enabled by Azure Arc
Prerequisites
Before creating SQL MI, verify:
- AKS Arc cluster is healthy on Azure Local (see Part 1).
- Arc Data Controller is in
Readystate (see Part 4). - You have enough worker node capacity (see Part 5).
- Azure CLI is updated and
arcdataextension is installed:
az extension add --name arcdata
az extension update --name arcdata
HINT Microsoft Learn still recommends planning at least 16 GB RAM and 4 cores available for a minimal data services setup (data controller + one SQL MI), and to keep headroom for scheduling and upgrades.
Step 1 - Start SQL Managed Instance deployment
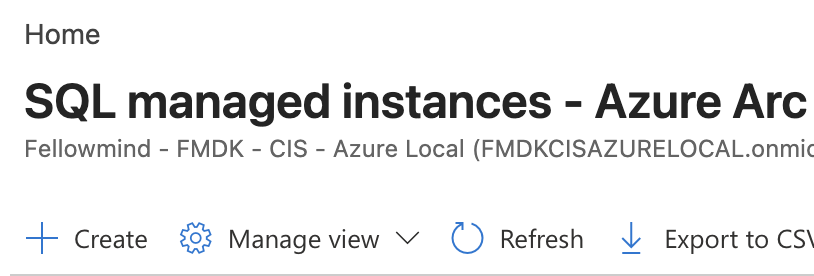
In Azure Portal:
- Search for Azure SQL Managed Instance - Azure Arc and select Create.
Step 2 - Configure the SQL MI resource
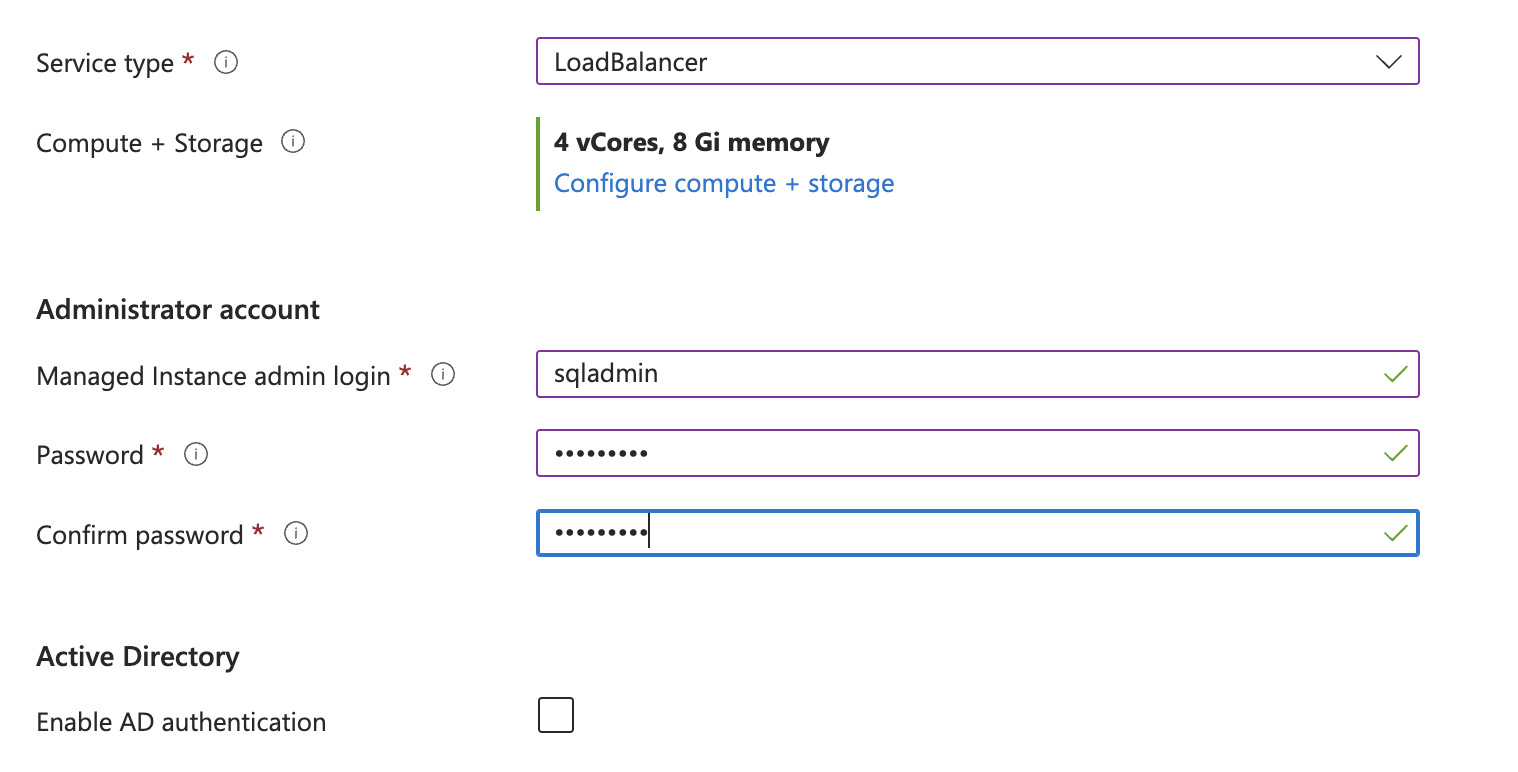
On the create wizard, configure the core settings:
- Subscription and Resource group.
- Managed instance name.
- Custom location (use the same custom location tied to your Arc Data Controller namespace).
- Service type as Load balancer.
- SQL admin username and password.
Then configure compute/storage:
- Choose Service tier (
General PurposeorBusiness Critical). - Set CPU and memory according to your cluster capacity and workload needs.
- Configure storage values appropriate for your environment.

HINT If you deploy from CLI, Microsoft Learn calls out an important requirement: backups should use an RWX-capable storage class (
--storage-class-backups), otherwise deployment may fail.
Step 3 - Review, create, and monitor
Click Review + create and then Create.
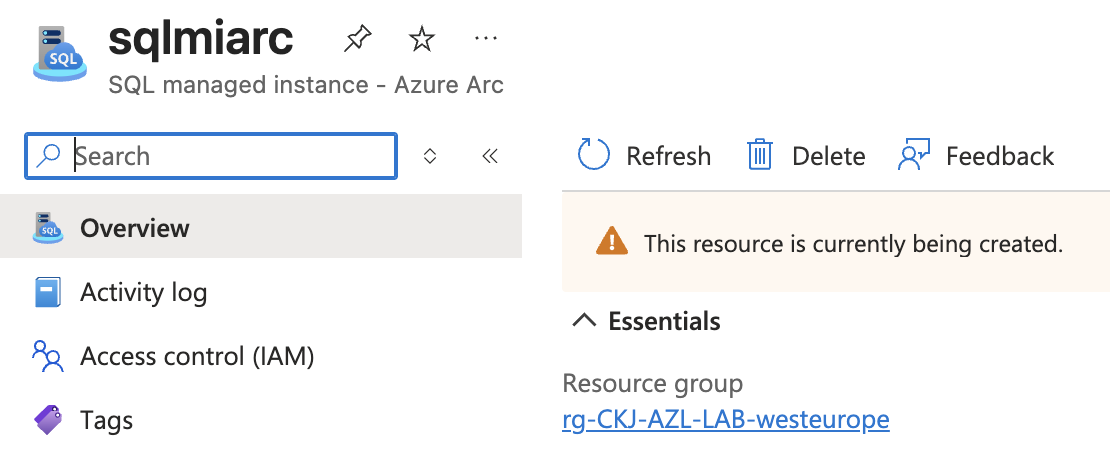
Once the resource has been created in Azure it will show as deployed into the resource group:
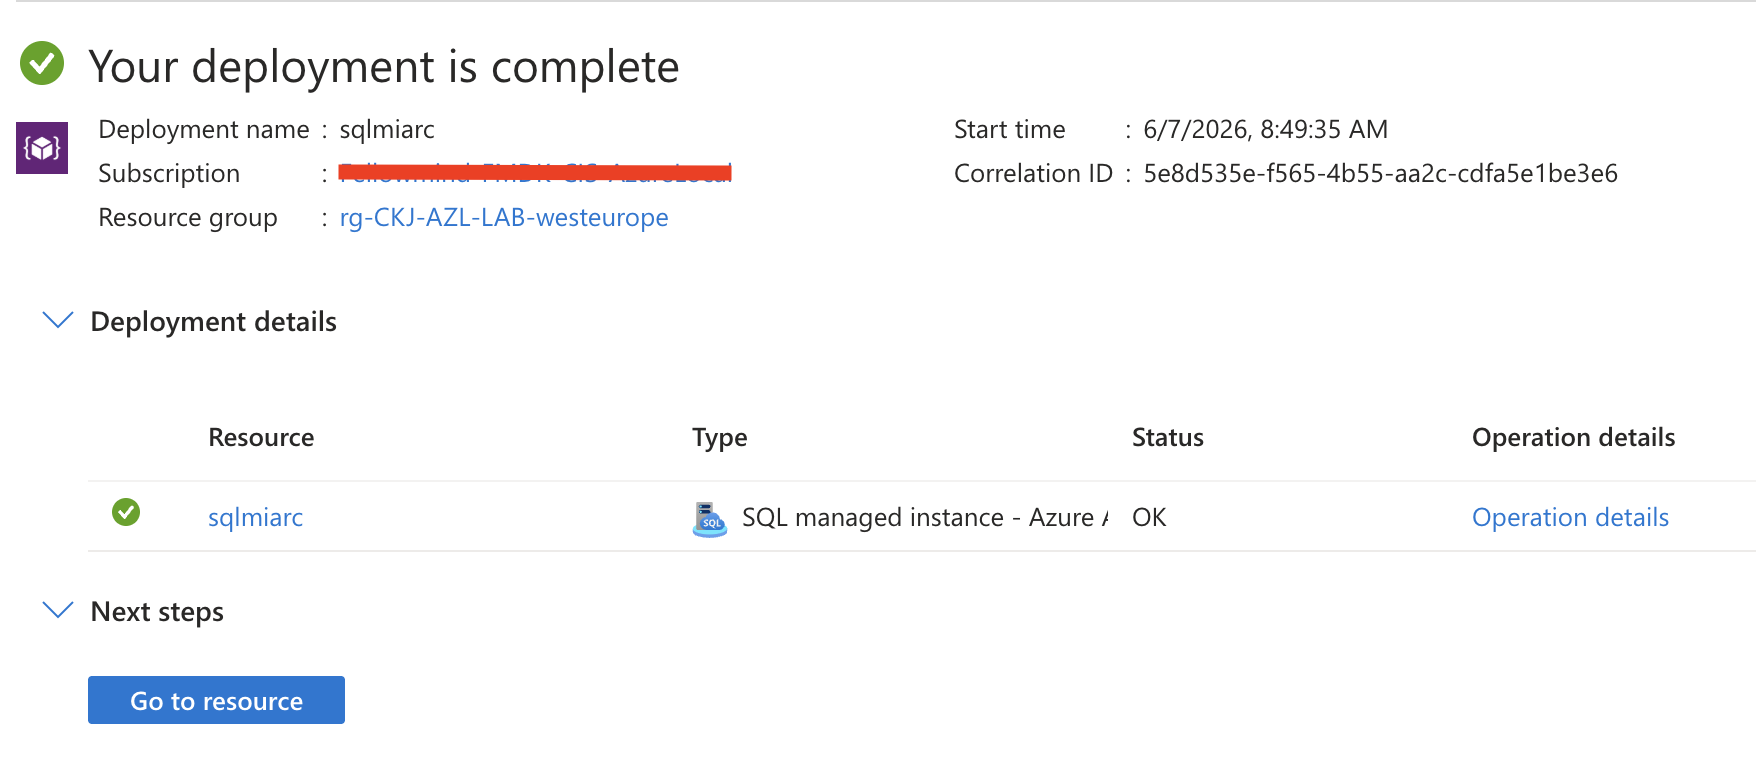
But it is only the resource in Azure, the actual SQL MI on the Kubernetes cluster is only just starting to deploy:
During deployment you can monitor from both Azure Portal and CLI:
kubectl get pods -n arc-data-services
kubectl get sqlmi -n arc-data-services
az sql mi-arc list --k8s-namespace arc-data-services --use-k8s -o table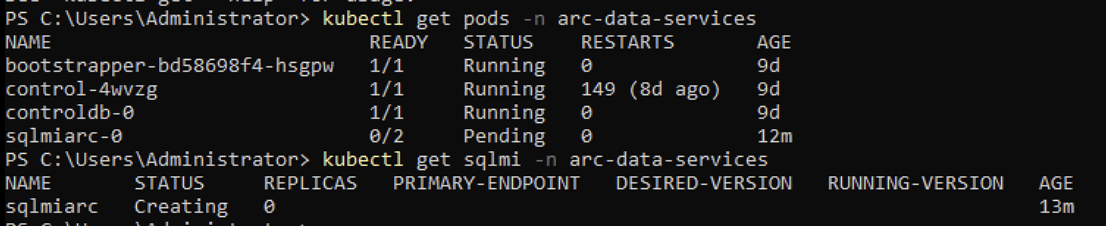
When deployment is complete, state should become Ready.
Homelab issues
In my homelab I hit issues with disk IO and memory, so I sadly did not get to deploy it successfully. I did extend both my Azure Local nodes rather forcefully doing this demo and I broke the cluster doing these tasks. This is a good reminder that we really need to plan out our deployments before starting.
I used this command to see the worker nodes in my Azure Local cluster that was sent to paused state:
Invoke-Command -ComputerName AZHCI01, AZHCI02 -ScriptBlock { Get-VM | Where-Object { $_.Status -ne "Operating normally" } | Select-Object Name, State, Status, Path | Format-List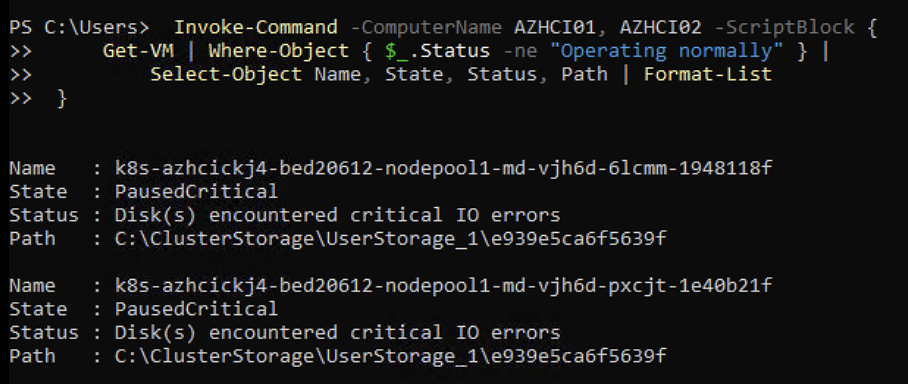
Step 4 - Connect and validate
After SQL MI is Ready, use the endpoint and port to connect from SSMS, Azure Data Studio, or sqlcmd.
Use the SQL MI primary endpoint and port. In SSMS, Server name should be:
For Arc SQL MI, get it with:
az sql mi-arc list --k8s-namespace <namespace> --use-k8s -o tableLook at PrimaryEndpoint (example: 10.0.20.45,31433) and paste that into SSMS.
Example validation query once connected to SSMS:
SELECT @@VERSION;
SELECT SERVERPROPERTY('Edition') AS Edition, SERVERPROPERTY('ProductVersion') AS ProductVersion;
Optional - Enable Active Directory authentication
If you need Windows/AD authentication for SQL MI, this is a separate track requiring:
- Active Directory connector deployment.
- DNS records for SQL endpoints.
- Additional SQL MI Active Directory settings during deployment.
Use the current Learn guide here:
This area is where many older blog steps are still conceptually right, but details and required properties can shift, so I recommend following Learn closely.
Final remark
Deploying SQL Managed Instance on Azure Local is straightforward once AKS Arc and the Data Controller foundation is healthy. The biggest risk is usually not the wizard itself, but cluster sizing and scheduling capacity. Plan memory/CPU with growth in mind, keep at least 25% headroom, and verify current limitations in Microsoft Learn before production rollout.
Have feedback on this post?
Send me a message and I'll get back to you.